
This guide outlines the steps to integrate Hibob with Dots using API service users. API service users are special accounts in Bob that allow API access without being tied to actual employees.
API service users in Bob allow you to access APIs in Bob. Multiple service users can be created, each with unique permissions, depending on the API you want to access.
Note: Service users are detached from any actual employee and are have only the credentials required for the API access. Service users cannot "log in" to Bob and are used only for the HiBob public API.
Follow these steps to start using Bob's API:
- Step 1: create a new API service user, which will provide the ID and Token necessary for authorization.
- Step 2: Create a permission group and add the API service user to it.
- Step 3: Set permissions to the permissions group.
- Step 4: Test the API using the service user's ID and token.
- Step 5: Use the API service user in the authorization header to include the service user’s ID and Token.
Step 1: Create a new API service user
Permission to create service users
The user creating the service users must be an admin, or should be granted the Features > Integrations > Automation > Create, update and delete the integration permission.
- From the top left, click Bob products > System settings.
- From the left menu, select Integrations.
- From the All Categories dropdown menu, select Automation.
- On the Service users tile, click Manage
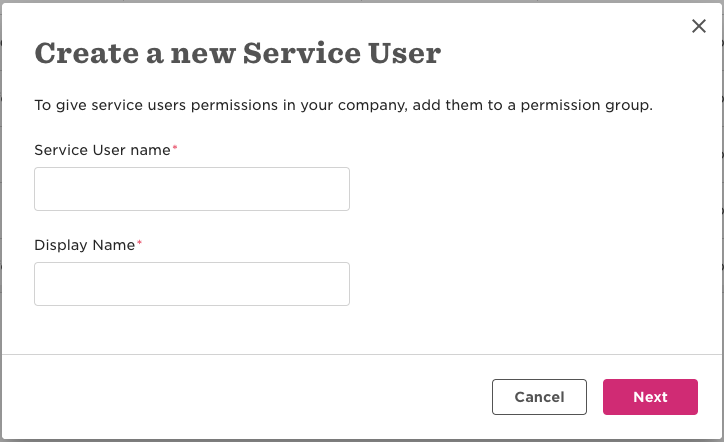
- From the top, click + New service user.
- Enter a unique name and a display name.
-
Click Next.
-
The new API service user’s ID and token are now displayed.
-
Copy the ID and Token and SAVE them in a file or in a safe place in your environment. Note that you will not be able to access the token again, so you must copy it at this stage. You will need to use the token for the HTTP authorization header later on, when you will want to access the API via HTTP.

-
Click Done.
Step 2: Create a designated permission group and add the API service user to it
API service users in Bob have no access permissions by default, which means they will only have access to general data such as the fields metadata and other data which is not personal.
When using the Bob API, each endpoint may require different permissions depending on the data you need to access. For example, accessing time off data requires different permissions than accessing an employee’s work history, and accessing job ads from your careers page does not require any special permissions at all.
As a best practice, to assign permissions to an API service user, you should add it to a dedicated permissions group. This group should include only the permissions required for the API actions you plan to perform with this service user.
Tip: To learn more about which permissions each API endpoint requires, see the different endpoints in the API reference guide .
Follow these steps to create a permissions group and add the API service user to a group:
- From the top left, click Bob products > System Settings.
- From the left menu, select Account > Permission groups.
- From the top, click + Add permission group.
- Enter a name for the permission group .Click Save.
- Enter a description to add more organization to your custom group (optional).
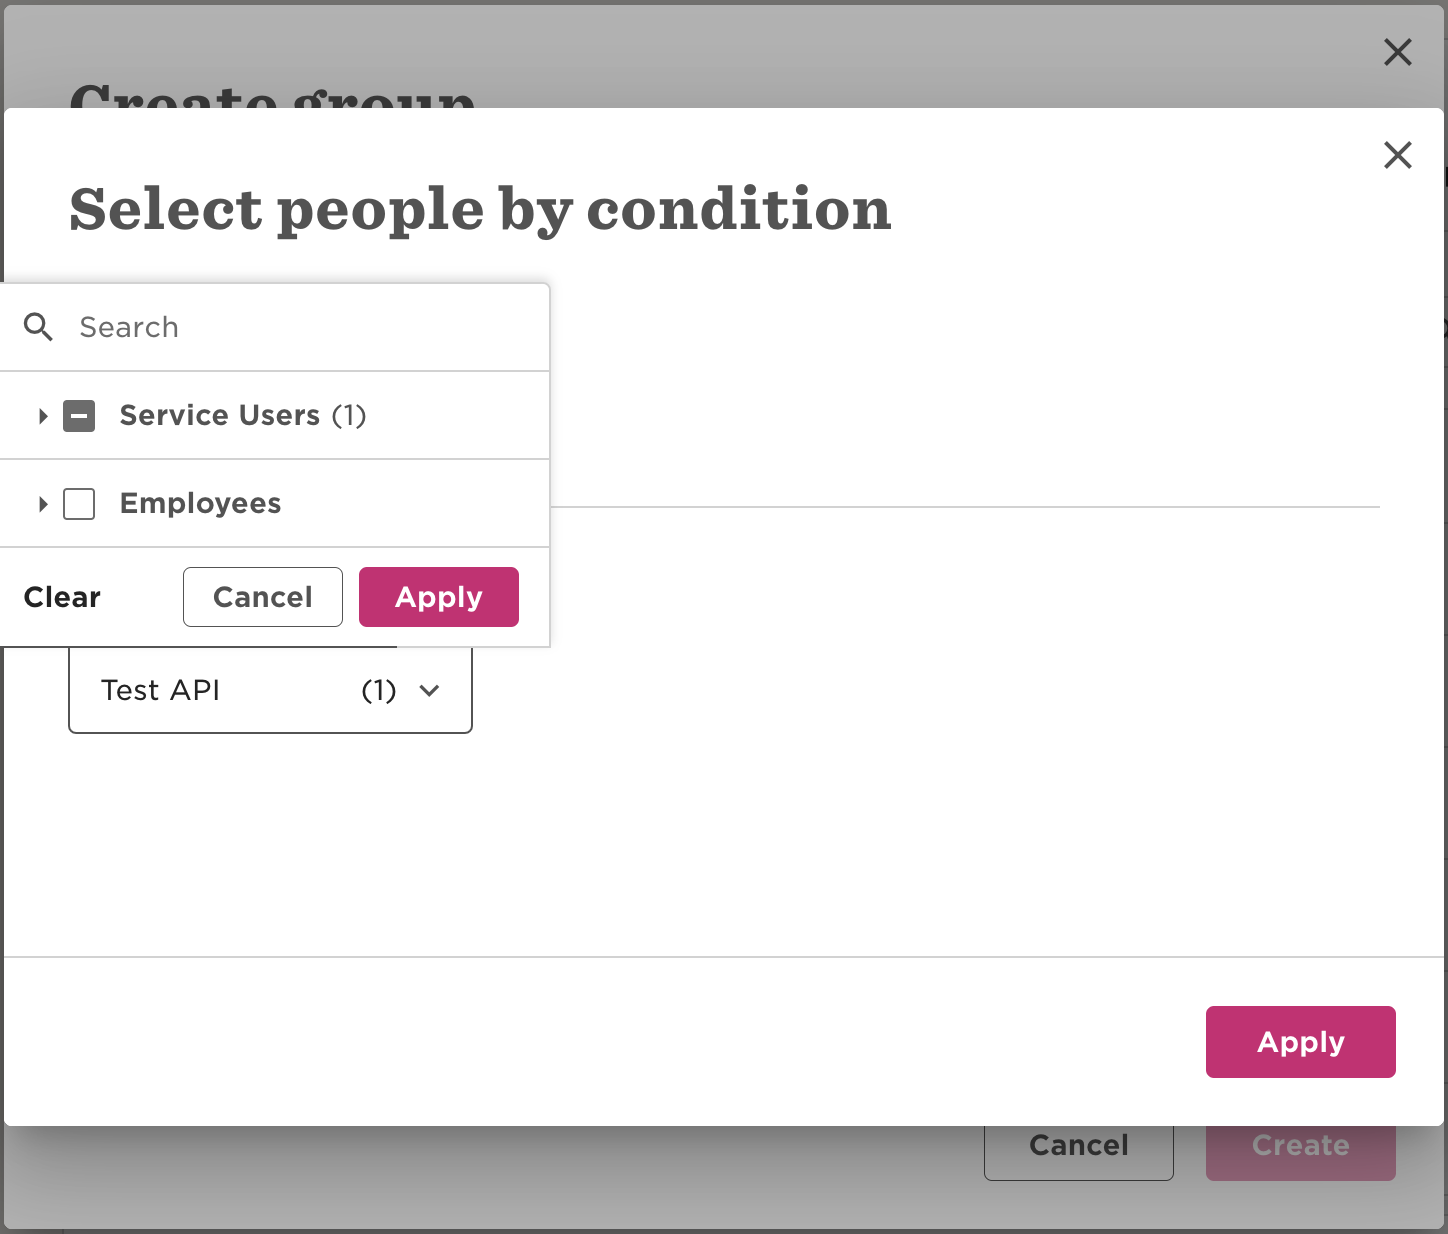
- From Group members, select Select people by condition and click Select People.
- From Conditions click the trash icon to remove all conditions. Ensure there are no conditions left to avoid adding other users to this permissions group.
- From Add specific employees click the selection pull down menu and select the service users you want to add to this group.
- Click Apply.


Step 3: Set permissions to the permissions group
A new permissions group has most permissions unmarked and disabled by default, requiring you to choose which permissions to include or exclude explicitly. You may need to consult with the Bob Admin in your organization to determine the necessary permissions for each service user.
The permissions are split into three categories:
Grant access to Bob features you need to access via the API you plan to use with this service user. For example, if you want to access reports, you may need to activate some of the options in Features > Reports.
- From the top right, click Edit.
- Select the area of Bob you'd like to manage.
- Mark the checkbox(es) to enable or disable the permissions you’d like to give the service users in this group.


Grant access to people’s data in each area of Bob for the API you plan to use with this service user.
- From the top right, click Edit.
- Select the area of Bob you'd like to manage.
- Mark the checkbox(es) to enable or disable the permissions you’d like to give the service users in this group.

View, edit and view history
To access Employee data via the API you need to grant basic view access to the category:
View all employees' sectionsIf you want to access history data (such as all the entries in the Lifecycle or Work table), you need to also grant the the history access:
View all employees' section histories.If you want to update data or access sensitive data that requires an extra layer of permissions, you need to grant the edit permission:
Edit all employees' sectionsPermissions that DOTS NEED
people - Address - View selected employees' Address section histories
people - Address - View selected employees' Address sections
people - Basic info - View selected employees' Basic info section histories
people - Basic info - View selected employees' Basic info sections
people - Employment - View selected employees' Employment sections
people - Employment - View selected employees' Employment section histories
people - Lifecycle - View selected employees' Lifecycle section histories
people - Lifecycle - View selected employees' Lifecycle sections
people - Personal contact details - View selected employees' Personal contact details section histories
people - Personal contact details - View selected employees' Personal contact details sections
people - Work - View selected employees' Work sections
people - Work - View selected employees' Work section histories
Step 4: Connect Hibob to Dots


1. Go to the integration page in Dots
2. Press on Hibob and approve access
3. Fill out the ID and Token you saved from Step 1
4. Press Continue and you are Done
